Angular Components
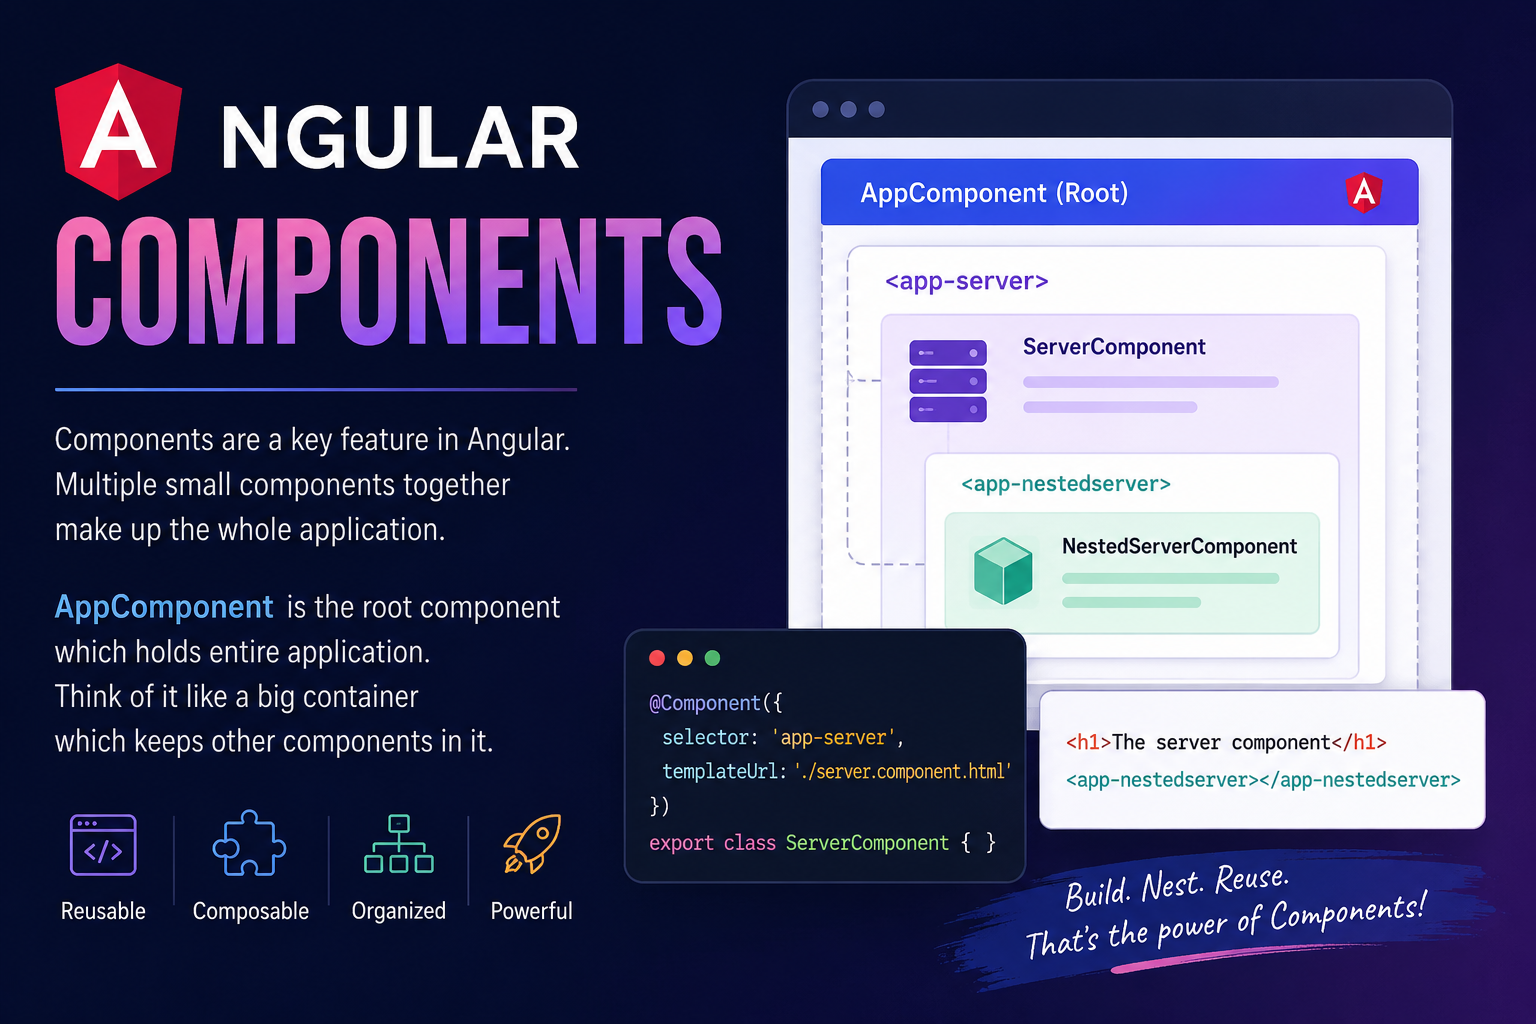
Components are a key feature in angular, multiple small components together make up the whole application.
AppComponent is the root component which holds entire application think of it like a big container which keeps other components in it.
The @Component Decorator is used for declaring the component.
How do we create a component?
So in the app folder there is the app component which is also the component we use to bootstrap the whole application meaning this component is used as a starting point or lets say container for the whole application.
Note:- Since we already included the AppComponent in the bootstrap array of the AppModule we cannot add any other thing in it.
import { BrowserModule } from '@angular/platform-browser';
import { NgModule } from '@angular/core';
import { AppComponent } from './app.component';

@NgModule({
  declarations: [
    AppComponent
  ],
  imports: [
    BrowserModule
  ],
  providers: [],
  bootstrap: [AppComponent]
})

export class AppModule { }
In the directory we create all other components in the app folder since the AppComponent will be the parent component component of all other components it is only natural we place the folders of other components inside the app folder.
import { Component } from "@angular/core";

@Component({
    selector: 'app-server',
    templateUrl: './server.component.html'
})
export class ServerComponent {
}
We declare typescript classes in a component which are treated as component when we add the @Component Decorator on them.
The @Component we need to import it from the anguar/core so that it known to typescript so that when it parses this file and compiles to javascript it is able to understand it.
We passed a javascript object to the component decorator to configure it as without any configuration it is not valuable to angular.
So we have set up some important configuration which will be stored as metadata for this class in the background which will tell angular what to do with this class.
So we have set up two important piece of information here,
1. Selector:
Selector is a unique name or ID which we give to our component. This selector is used in other component html files as tag to include them.
2. TemplateUrl:
The template is a .html file which the component references, in this .html we write all the content content which we want to display in the browser also we include other components in this. Note:- It requires a relative path for this as all of this will be bundled by webpack in the end so we need to tell it where to find the file.
How to use the component?
In order to use the Component you need to include it in the declarations array of the app module so that it angular registers it with the module meaning it tells angular that this component is now being managed by this module.
import { BrowserModule } from '@angular/platform-browser';
import { NgModule } from '@angular/core';
import { AppComponent } from './app.component';
import { ServerComponent } from './server/server.component';

@NgModule({
  declarations: [
    AppComponent,
    ServerComponent
  ],
  imports: [
    BrowserModule
  ],
  providers: [],
  bootstrap: [AppComponent]
})
export class AppModule { }
Here you can we imported our ServerComponent and then included it in the declarations array in order to register it in our module.
Now the angular knows about this component that it is being managed by this module so we can now include it in other components.
<h1>Hello world!</h1>
<app-server></app-server>
This is app.component.html see we used the selector of ServerComponent to include it.
Now, if you start the application you will see the content of both AppComponent and ServerComponent.
![[Pasted image 20260821074338.png]](https://cdn.hashnode.com/uploads/covers/64e6f917d6f2510f582ba636/36f189bc-da0f-4864-9192-cc37f01a3fc0.png align="center")
Creating Components with CLI and Nested Components
Instead of manually making components the angular cli allows us to use commands to generate the components one such command is:
ng generate component component-name
ng g c component-name //shortcut for the same command
This is the command lets us generate the component folder with all the required files in it.
It generates -> component-name.component.html, .ts, .css and .spec (this is for testing).
for example: Lets create a component NestedServer.
ng generate component nestedserver
It will create the folder and files inside the folder.
![[Pasted image 20260821172907.png|264]](https://cdn.hashnode.com/uploads/covers/64e6f917d6f2510f582ba636/cf0ba753-b57f-469e-be84-bf28d3d0f817.png align="left")
When you generate it using CLI it also includes it automatically inside the module's declarations array so that it gets registered in the angular and get managed by module.
You can nest the components in other components also for example lets include this component in the ServerComponent.
<h1>The server component</h1>
<app-nestedserver></app-nestedserver>
This is the server.component.html file, you will see it on the browser like this
![[Pasted image 20260821182926.png]](https://cdn.hashnode.com/uploads/covers/64e6f917d6f2510f582ba636/ef6f12c5-08e3-48b6-ab11-45f87dea04ac.png align="center")
This is all about the components for now in this blog.
See you in the next blog.